Android widget Example : Android widgets are used for many purposes. You can use widgets for displaying quick calendar, calculator, a simple do to list, etc. It is unique feature of Android OS. Android widgets are created by extending the android.widget class.
You can create your own widgets in Android application to display overview of information stored or used by the application. For example weather widget can display weather forecast of weeks or notepad application can display a note created by the user.
In this post I’ll showing steps to make your first android widget application.
Android widget Example –
To start creating your first android widget follow this steps :
Step 1 : Creating the project.
Make a new android project with package name : parallelcodes.simplewidget and with name : SimpleWidget. You can always use your own desired package name and application name.
Used : Android Studio
Minimum Required SDK : API 8 – Android Froyo
Target SDK : API 19 – Android Kitkat.
Step 2 : Creating widget provider XML file.
2.1 – Make a new folder named xml in your res resource folder “res->xml”
2.2 – Create a new xml file in the newly created xml folder with name : mywidgetprovider.xml
“res->xml->mywidgetprovider.xml”
And edit it as following code :
mywidgetprovider.xml:
<?xml version="1.0" encoding="utf-8"?>
<appwidget-provider xmlns:android="http://schemas.android.com/apk/res/android"
android:initialLayout="@layout/activity_main"
android:minHeight="146dp"
android:minWidth="146dp"
android:updatePeriodMillis="0" >

</appwidget-provider>
This file defines the xml layout info of our application widget.
Step 3 : Creating the layout of our widget.
My default the activity_main.xml layout file will be created in your res->layout folder. If it is not created, please create one and edit it as following :
res->layout->activity_main.xml :
<?xml version="1.0" encoding="utf-8"?>
<RelativeLayout xmlns:android="http://schemas.android.com/apk/res/android"
xmlns:tools="http://schemas.android.com/tools"
android:layout_width="wrap_content"
android:layout_height="wrap_content"
android:alpha="0.7"
android:background="#fff" >

<TextView
android:id="@+id/textView"
android:padding="5dp"
android:layout_width="wrap_content"
android:layout_height="wrap_content"
android:layout_centerHorizontal="true"
android:text="Hello world!"
android:textColor="#525252"
android:textSize="35dp" />

</RelativeLayout>
The widget will display a simple “Hello world” message upon using it. When you launch the widget, a simple Text message will be shown on your home screen. You can change the above file with your message or add a button or an image to it. This is the layout resource file of our application widget.
After making the layout, our widget will look like below image :
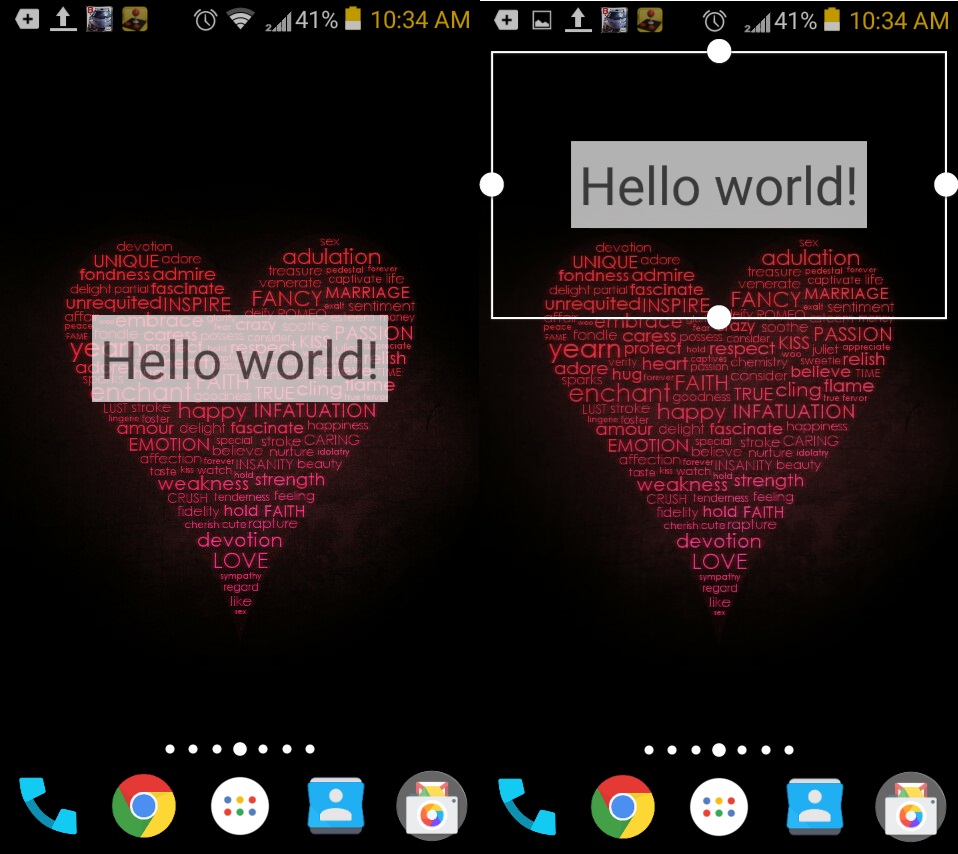
Android – Creating your first widget Image 1
Step 4 : Coding the application.
Inside your project, under the src folder MainActivity.java will be made during the creation of project. If it is not made make one as src>Packagename>MainActivity.java (your package name) and edit it as following
MainActivity.java :
package parallelcodes.simplewidget;

import android.appwidget.AppWidgetProvider;

public class MainActivity extends AppWidgetProvider{

}
Step 5 : Editing the Manifest file.
Now finally open the Android manifest file and edit it as following :
AndroidManifest.xml :
<?xml version="1.0" encoding="utf-8"?>
<manifest xmlns:android="http://schemas.android.com/apk/res/android"
package="parallelcodes.simplewidget"
android:versionCode="1"
android:versionName="1.0" >

<uses-sdk
android:minSdkVersion="14"
android:targetSdkVersion="14" />

<application
android:allowBackup="true"
android:icon="@drawable/ic_launcher"
android:label="@string/app_name"
android:theme="@style/AppTheme" >
<receiver android:name=".MainActivity">

<intent-filter>
<action android:name="android.appwidget.action.APPWIDGET_UPDATE"></action>
</intent-filter>

<meta-data android:name="android.appwidget.provider"
android:resource="@xml/mywidgetprovider"></meta-data>

</receiver>
</application>

</manifest>
Now we can run our application. Let’s see a demo video of the application we just created :
Pingback: Android widget tutorial - Making an Android Widget with button • ParallelCodes;
Pingback: Making Android Widget with several Buttons • ParallelCodes;
Pingback: Android Beginners Tutorial - A List of Beginner Tutorials • ParallelCodes;