ASP.NET MVC – Getting started :
In this post, I’ll explain how you can create a quick ASP.NET MVC site in Visual studio. For this you will need Visual studio. You can download latest version from here. I’m using Visual Studio 2012, you can use newer versions if you want.
Creating ASP.NET MVC site in Visual studio :
In visual studio, from the file menu, click on File > New > Project and select MVC Web Application.
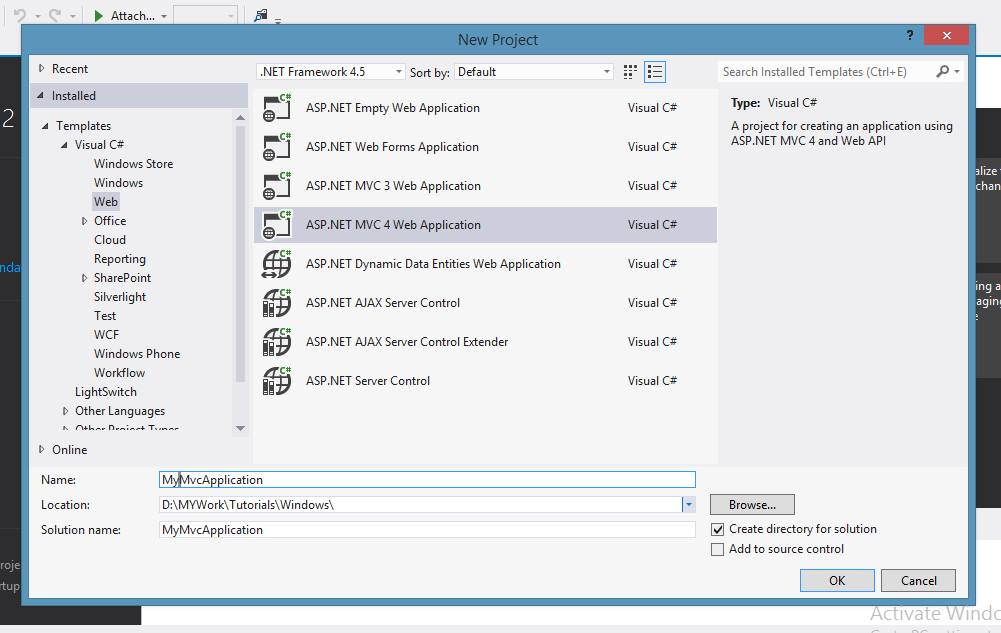
ASP.NET MVC Getting started – Project selection
Click OK and select Internet Application in the Next Window with View Engine as ASPX
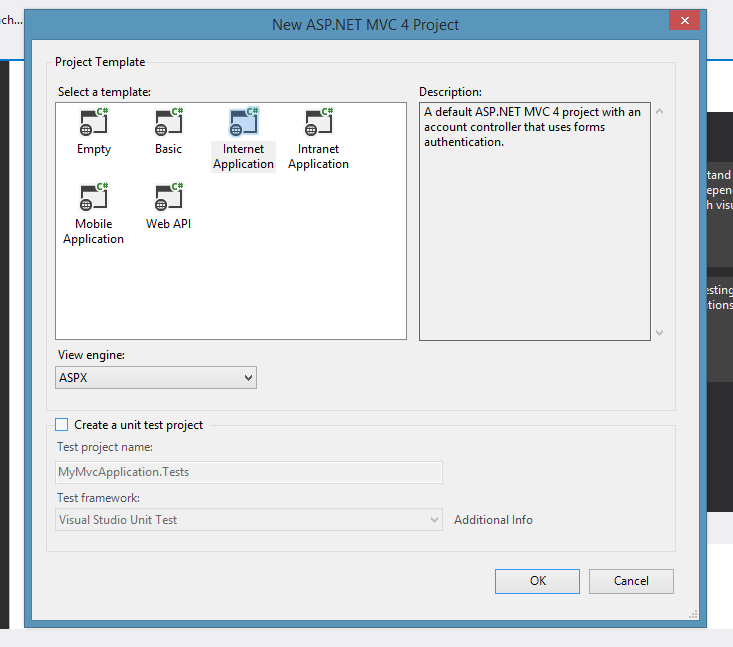
ASP.NET MVC Getting Started – Project creation 2
And Click OK. A basic ASP.NET MVC website application will be created with all required files and folders. You can directly run this website, if you desire. But we are not even Half way to understanding ASP.NET MVC architecture.

ASP.NET MVC Getting Started – Folders structures.
We have three four important folders over here :
- App_start
- Controllers
- Models
- Views
We will see working of each of these folders in the later part of this series.
Anyways, when you run this project, this page will be shown as default in browser.
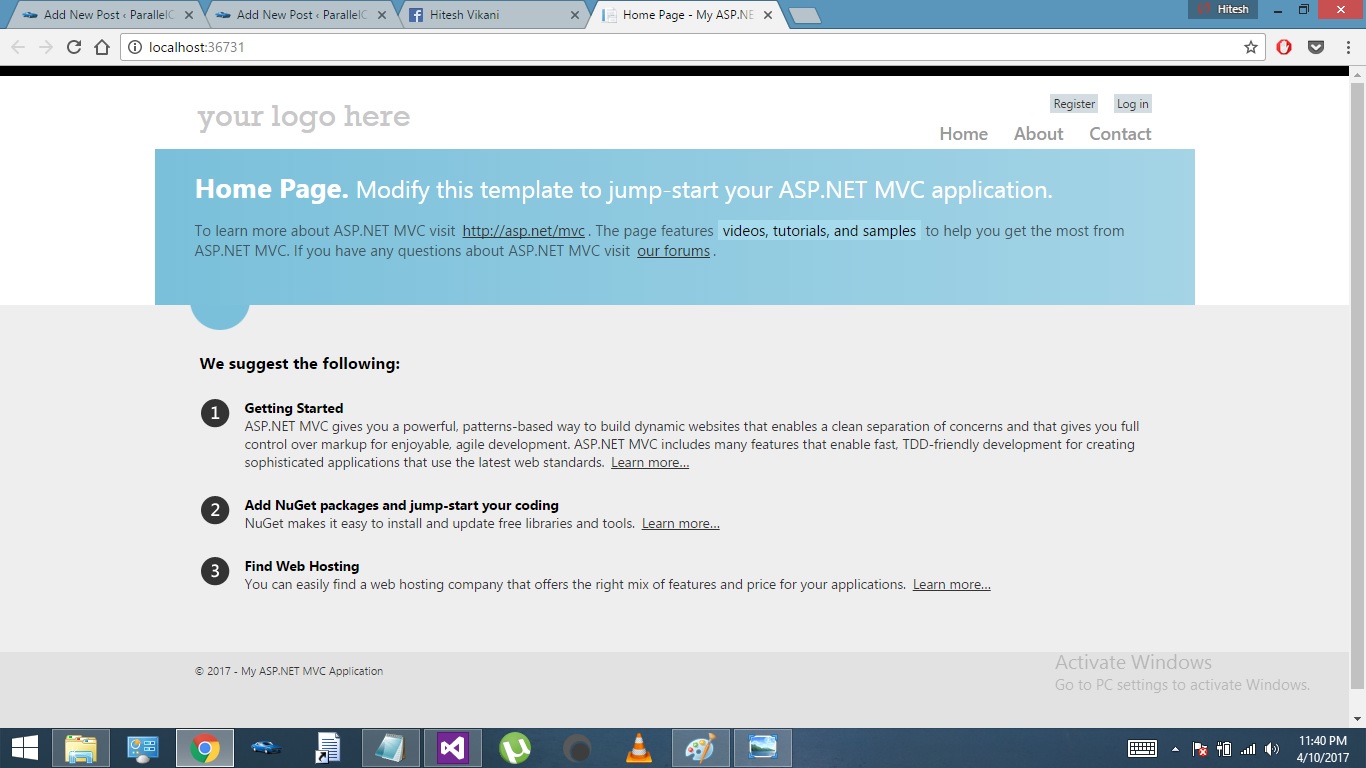
ASP.NET MVC Getting started – Browser run image
The folder : Views > Shared contains a file named Site.Master, which is our master page file of our web application.
In the next part ASP.NET MVC Controllers and their usage.
Pingback: ASP.NET MVC Tutorial • ParallelCodes;